- Automobiles & Motorcycles
- Beauty & Personal Care
- Business Services
- Chemicals
- Construction & Real Estate
- Consumer Electronics
- Electrical Equipment & Supplies
- Electronic Components & Supplies
- Energy
- Environment
- Excess Inventory
- Fashion Accessories
- Food & Beverage
- Furniture
- Gifts & Crafts
- Hardware
- Health & Medical
- Home & Garden
- Home Appliances
- Lights & Lighting
- Luggage, Bags & Cases
- Machinery
- Measurement & Analysis Instruments
- Mechanical Parts & Fabrication Services
- Minerals & Metallurgy
- Office & School Supplies
- Packaging & Printing
- Rubber & Plastics
- Security & Protection
- Service Equipment
- Shoes & Accessories
- Sports & Entertainment
- Telecommunications
- Textiles & Leather Products
- Timepieces, Jewelry, Eyewear
- Tools
- Toys & Hobbies
- Transportation
How to Install LED Neon Flex: Step-by-Step Guide
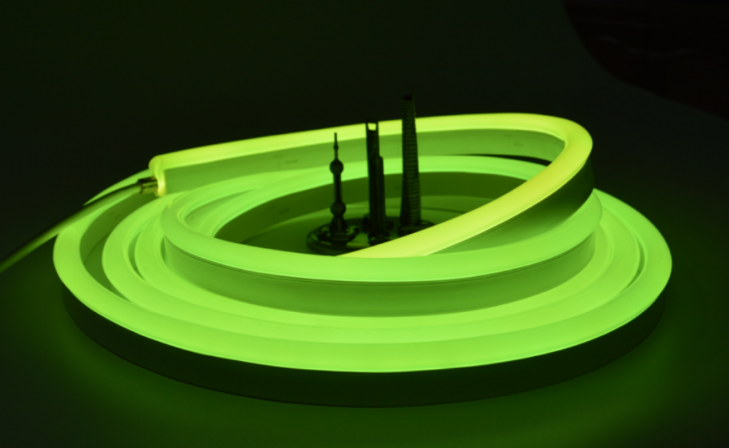
LED Neon Flex has emerged as a revolutionary lighting solution, offering unparalleled flexibility, energy efficiency, and vibrant color options. Whether you're looking to enhance the aesthetics of your space or create captivating visual displays, installing LED Neon Flex can be a rewarding endeavor. In this comprehensive step-by-step guide, we walk you through the process of installing LED Neon Flex to help you achieve stunning illumination with ease.

Step 1: Planning and Preparation
Assess the Area: Determine where you want to install the LED Neon Flex. Consider factors such as the layout, contours, and any obstacles that may affect the installation.
Measure and Cut: Measure the length required for your LED Neon Flex strips. Carefully cut the strips to the desired lengths using sharp scissors or a utility knife. Follow manufacturer guidelines for cutting and handling.
Step 2: Mounting the LED Neon Flex
Mounting Clips/Brackets: Depending on your installation surface, attach mounting clips or brackets at regular intervals along the desired path of the LED Neon Flex. Ensure they are level and securely fastened.
Attach the LED Neon Flex: Gently insert the LED Neon Flex strips into the mounting clips or brackets. Ensure a snug fit to prevent sagging or drooping.
Secure the End Caps: If your LED Neon Flex strips have end caps, attach them to the open ends of the strips. These end caps provide protection and a finished appearance.
Step 3: Electrical Connection
Connecting Wires: Using wire connectors, connect the LED Neon Flex strips to the power supply. Follow the manufacturer's instructions for proper wiring. If using extension cables, connect them as needed.
Test the Connection: Before proceeding, test the electrical connection to ensure that the LED Neon Flex is functioning correctly.
Step 4: Sealing and Protection
Apply Silicone Sealant: Apply a thin bead of silicone sealant along the edges of the LED Neon Flex strips and around any connection points. This helps protect the strips from moisture and enhances their longevity.
Step 5: Powering Up
Connect to Power: Plug the power supply into a compatible outlet. Your LED Neon Flex should now illuminate, showcasing its vibrant colors and dynamic lighting effects.
Step 6: Fine-Tuning and Adjustment
Check Alignment: Step back and assess the alignment and placement of the LED Neon Flex. Make any necessary adjustments to ensure a uniform and visually appealing installation.
Dimming and Control (Optional): If your LED Neon Flex has dimming capabilities or color-changing features, configure the controls according to your preferences. Consult the manufacturer's instructions for programming and customization.
Step 7: Maintenance and Care
Regular Inspections: Periodically inspect the LED Neon Flex installation for any signs of wear, damage, or loose connections. Address any issues promptly to ensure the continued functionality of your lighting setup.
Conclusion
Installing LED Neon Flex lighting is a creative and exciting process that allows you to transform your space with captivating illumination. By following this step-by-step guide, you can confidently install LED Neon Flex and enjoy its stunning visual effects for years to come. Remember to prioritize safety, precision, and attention to detail throughout the installation process.
If you are interested in sending in a Guest Blogger Submission,welcome to write for us!


Comments
0